How to Make a DIY Compost Bin from Pallets
How to Make a DIY Compost Bin from Pallets
Building your own compost bin from wooden pallets is one of the most satisfying things you can do in your garden. It costs almost nothing, it keeps useful material out of landfill, and within a few months you will have rich, dark compost that your plants will absolutely love. If you have never composted before, or if the idea of building something feels a little daunting, please do not worry. This guide will walk you through every step in plain, straightforward language. Thousands of gardeners across the UK — from small terraced gardens in Manchester to sprawling plots in rural Somerset — are doing exactly this, and you can too.
Why Use Pallets?
Wooden pallets are one of the most widely available free materials in Britain. Warehouses, garden centres, DIY shops, supermarkets, and builders’ merchants often have more pallets than they know what to do with, and many are happy to give them away. A quick search on Gumtree, Facebook Marketplace, or Freecycle will usually turn up several offers within a few miles of your home. Pallets are sturdy, slatted (which means good airflow for your compost), and easy to work with even if you are not particularly handy with tools.
Compared to buying a purpose-built plastic compost bin — which typically costs between £30 and £80 — a pallet bin can be made for virtually nothing. Your local council may offer subsidised bins through schemes like GetComposting, which is worth checking, but building your own gives you a much larger capacity and the freedom to customise the size to suit your garden.
Before You Start: Choosing the Right Pallets
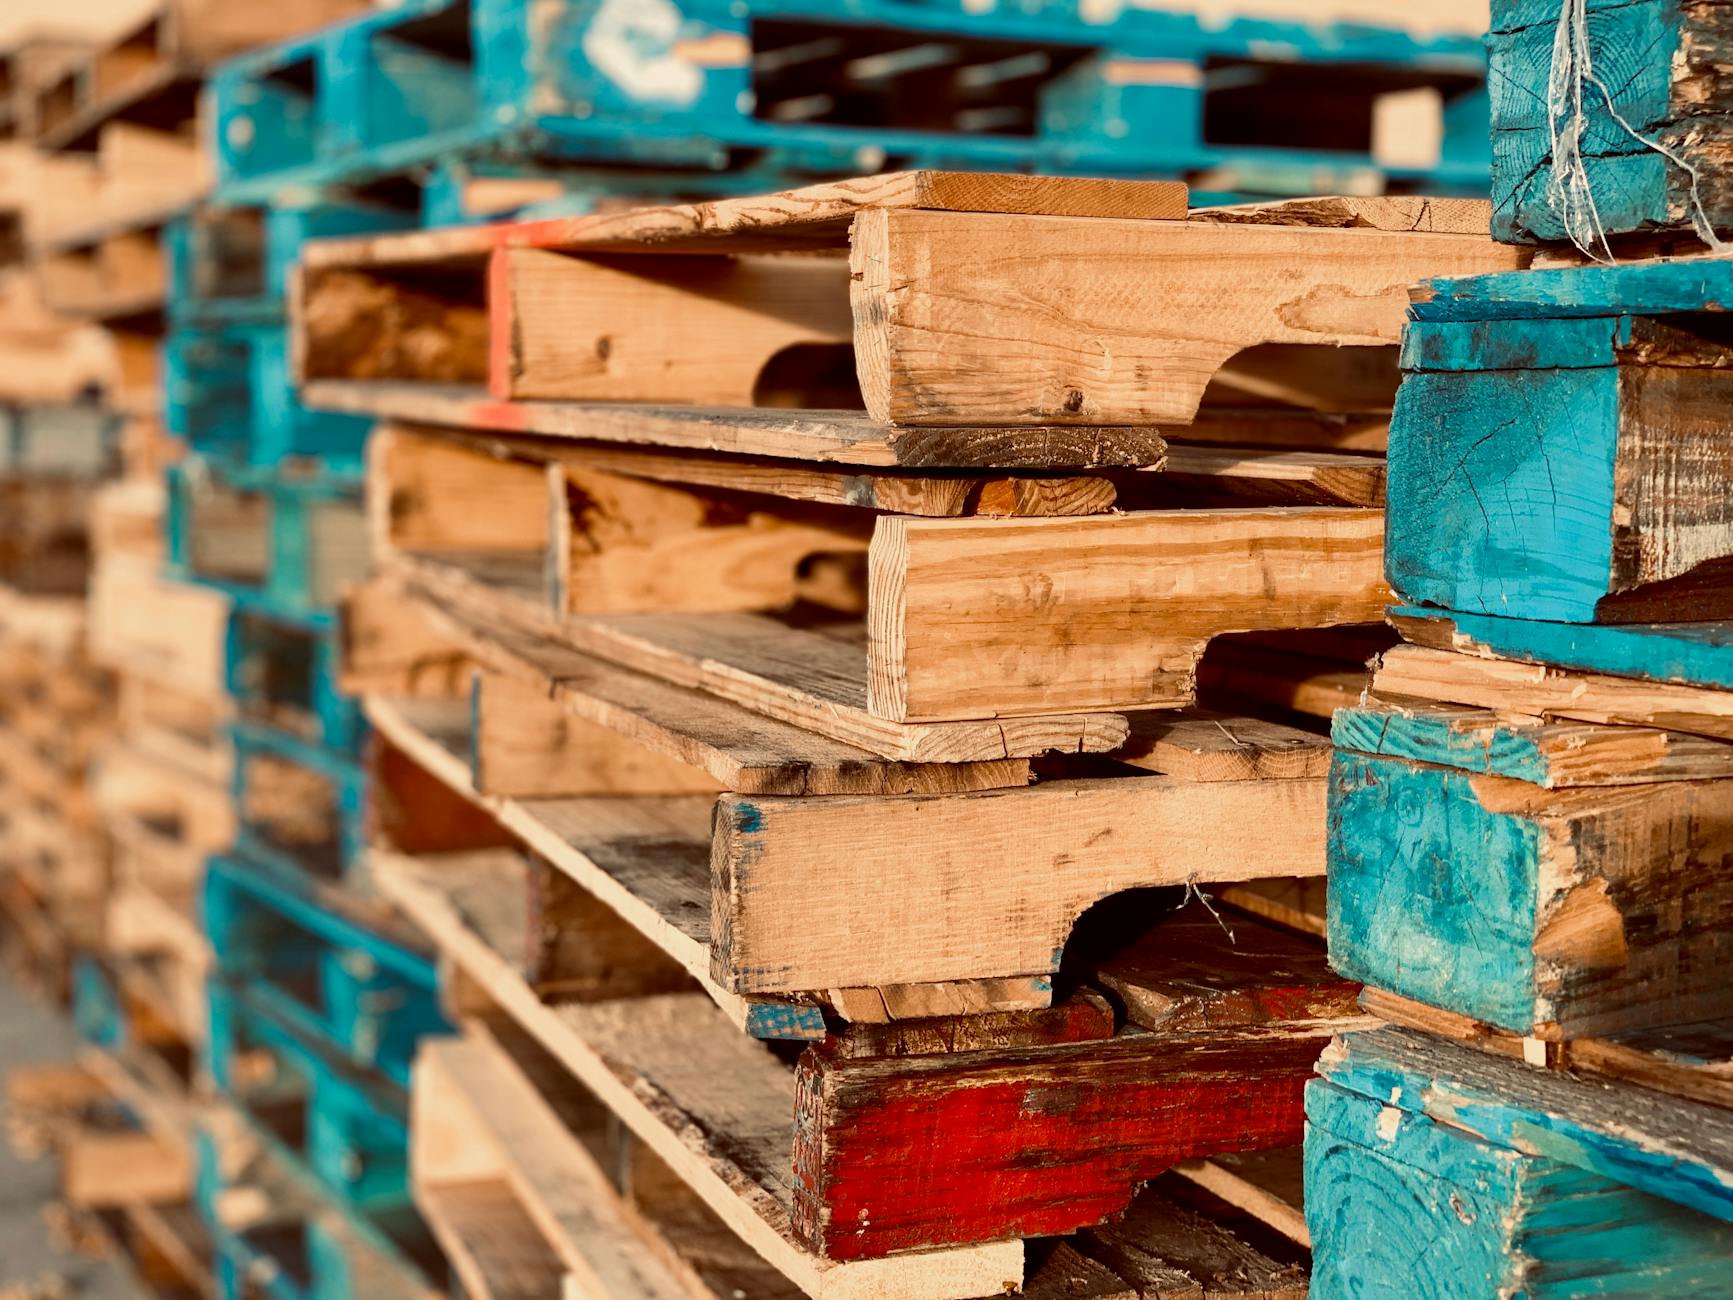
Not all pallets are safe to use in a food-growing or compost context, so this step is genuinely important. Look for the IPPC (International Plant Protection Convention) stamp on the pallet — this is a small mark usually burned or stamped into the wood. You are looking for pallets marked HT, which stands for heat-treated. These have been treated with heat to eliminate pests and pathogens, and they are perfectly safe to use outdoors in your garden.
Avoid pallets stamped with MB, which stands for methyl bromide. This is a toxic pesticide that was used to treat wood, and although its use is now banned in the UK and EU, older pallets may still carry this marking. If you cannot find a clear stamp, or if the stamp is illegible, it is safer to leave that pallet and find another one.
You will also want pallets that are in reasonable condition — not rotting, not warped beyond repair, and with most of their boards intact. A few missing slats are fine and easy to fix, but a pallet that is falling apart before you even start will not give your bin much longevity.
What You Will Need
- 4 wooden pallets of roughly the same size (standard UK pallets are 1200mm x 1000mm)
- Heavy-duty galvanised wire or zip ties
- Hammer and nails, or a drill and screws (optional, for extra stability)
- Wire cutters or strong scissors
- Thick gardening gloves
- A piece of old carpet, cardboard, or a breathable membrane for the lid
- A spirit level (helpful but not essential)
- A piece of chicken wire or fine mesh (optional, to line the inside)
That is genuinely all you need. If you do not own a drill, wire and zip ties will do the job perfectly well. The aim is a sturdy, freestanding box — not a piece of furniture — so do not let the lack of fancy tools put you off.
Choosing Your Location
Where you place your compost bin matters more than most people realise. A good spot will make composting easier, faster, and far less smelly. Here is what to look for:
- Partial shade: Full sun dries your compost out too quickly; deep shade keeps it too cold and damp. A spot that gets a few hours of sun and a few hours of shade each day is ideal.
- Level ground: This makes the bin easier to build and keeps it stable once it is full.
- Direct contact with soil: Placing your bin directly on bare earth allows worms and beneficial microorganisms to move up into the compost naturally. Avoid placing it on concrete or paving slabs if you can.
- Reasonable distance from the house: Two to three metres is sensible. Close enough to carry your kitchen scraps easily, but not so close that any occasional odour becomes a nuisance.
- Away from your neighbour’s fence line: This is simply good manners, and it avoids any potential awkwardness, particularly in the early stages when you are still learning what to add.
How to Build Your Pallet Compost Bin: Step-by-Step
This design uses four pallets to create a three-sided bay with a removable front panel. This makes it easy to turn your compost and to get the finished material out when it is ready. The whole build typically takes between one and two hours.
- Prepare your site. Clear the ground of any turf, weeds, or debris. You want a roughly level patch of bare soil. If the ground is very uneven, you can level it off with a spade.
- Stand the first pallet upright as the back wall. This is the most important pallet in terms of stability, so take your time positioning it. If you have a helper, ask them to hold it while you secure it. Push the bottom edge firmly into the soil to help it stay upright.
- Position the two side pallets at right angles to the back. You should now have a U-shape — two side walls and a back wall. Check that the corners are as square as you can make them. This does not need to be architectural precision, but squarer corners will make the bin more stable.
- Secure the corners with galvanised wire or zip ties. Thread the wire through the slats at the top, middle, and bottom of each corner joint and twist or clip it tight. If you are using screws, drive two or three through the side pallet into the back pallet at each corner. The more connection points you have, the sturdier your bin will be.
- Stand the fourth pallet as the front panel. Do not fix this one permanently. Instead, attach it loosely with wire loops that you can unhook when you need access. Some people simply lean the front pallet against the two side walls and rely on the weight of the compost to hold it in place — this works well once the bin starts to fill up.
- Line the inside (optional but recommended). Staple or attach chicken wire or fine mesh to the interior of the back and side walls. This prevents material from falling out through the gaps between the slats, particularly in the early stages when there is not much bulk inside to hold itself together.
- Create a lid. A lid is not strictly necessary, but it helps retain moisture and warmth, and it keeps out rats and foxes. An old piece of carpet works brilliantly — it is heavy enough to stay in place, it breathes, and you can often find it for free. A piece of cardboard will do for now, though you will need to replace it as it rots. Alternatively, cut a piece of breathable membrane (sold at most garden centres and builders’ merchants) and weigh it down with a couple of bricks.
- Congratulate yourself. Your bin is built. That is genuinely the hardest part of composting done.
What to Put in Your Compost Bin
Good compost is all about balance. You need a mix of “greens” (nitrogen-rich, moist material) and “browns” (carbon-rich, dry material). Getting this balance roughly right is what separates a healthy, working compost heap from a soggy, smelly mess. The ideal ratio is roughly one part greens to two or three parts browns.
Greens to add:
- Fruit and vegetable peelings
- Tea bags (check they are plastic-free — many UK brands now produce fully compostable bags, including PG Tips and Clipper) or loose tea leaves
- Coffee grounds
- Fresh grass clippings
- Fresh plant prunings
- Annual weeds (not those that have set seed)
Browns to add:
- Cardboard (torn into pieces, with tape removed)
- Newspaper and plain paper
- Dry autumn leaves
- Straw
- Woody prunings (ideally shredded or broken into small pieces)
- Egg boxes and toilet roll tubes
What to avoid:
- Cooked food, meat, fish, or dairy products — these attract rats and other pests
- Diseased plant material
- Perennial weeds such as bindweed, couch grass, or ground elder
- Anything treated with persistent pesticides
- Cat or dog waste
- Glossy magazines or heavily inked paper
One thing worth mentioning: compost bins in the UK are not subject to specific legal restrictions for standard household use, but if you live in a flat or are composting in a communal space, it is worth checking your tenancy agreement or speaking to your managing agent. Some councils, including those in London, offer food waste caddies and collection services as an alternative or complement to home composting — details are usually available on your local council website.
Keeping Your Compost Healthy
Once your bin is up and running, a little attention every couple of weeks is all it needs. Composting is a natural process — you are not doing the work, the microorganisms are. Your job is simply to give them the right conditions.
Turn it regularly. Every two to four weeks, use a fork or spade to mix the contents of your bin. This introduces oxygen, which speeds up decomposition and prevents the anaerobic conditions that cause bad smells. If you built a two-bay system (using six pallets instead of four), you can turn the compost by moving it from one bay to the other — a method that experienced composters swear by.
Keep it moist but not wet. Your compost should feel like a wrung-out sponge — damp to the touch but not dripping. In a dry British summer (yes, they do occasionally happen), you may need to water it occasionally. In a wet winter, the lid will help prevent it becoming waterlogged.
Chop things up. The
smaller the pieces, the faster they break down. Woody stems, cardboard tubes, and vegetable peelings will all compost more quickly if you give them a rough chop before adding them to the pile. A spade or pair of shears works perfectly well — no special equipment required.
Add an activator if things are slow. If your heap seems sluggish, particularly in the first few months, a handful of fresh nettles, a bucketful of grass clippings, or a proprietary compost activator from a garden centre can help get the bacterial activity going. Human urine, diluted with water, is a time-honoured and entirely free alternative that many gardeners swear by, though perhaps best applied discreetly.
Be patient. Cold composting in a pallet bin — as opposed to hot composting in a managed heap — typically takes between six and twelve months to produce usable material. You will know it is ready when it is dark brown, crumbly, and smells of damp woodland rather than rotting food. Any large, undecomposed chunks can simply be sieved out and returned to the bin for another round.
A pallet compost bin will not win any awards for elegance, but it is hard to argue with the results. Built in an afternoon from reclaimed materials, it will quietly convert your kitchen scraps and garden waste into rich, workable compost that improves your soil year after year. Once you have used your own homemade compost on a vegetable bed or border and seen the difference it makes, paying for the bagged variety at a garden centre will feel like a very unnecessary expense.