Hot Composting: How to Make Compost in 30 Days
Hot Composting: How to Make Compost in 30 Days
Most people who try composting at home end up with a cold, slow heap that takes the better part of a year to produce anything useful. Hot composting is a different approach entirely. By managing the conditions inside your heap carefully, you can produce rich, crumbly compost in as little as 30 days. It requires more attention than the passive method, but the results are dramatic, and once you understand the principles, the process becomes straightforward and genuinely satisfying.
This guide covers everything a beginner in the UK needs to know to get started with hot composting: what it is, why it works, what materials to use, and how to manage your heap week by week. Whether you have a small suburban garden in Surrey or a larger plot in Yorkshire, the same core principles apply.
What Is Hot Composting and Why Does It Work So Fast?
Standard cold composting relies on slow microbial activity to break down organic matter over six to eighteen months. Hot composting accelerates this by creating the ideal conditions for thermophilic bacteria – microorganisms that thrive at high temperatures – to multiply rapidly and break down materials at speed.
A well-managed hot compost heap will reach internal temperatures of between 55°C and 70°C. At these temperatures, organic matter decomposes quickly, weed seeds are killed, most pathogens are destroyed, and the finished compost is stable and safe to use. The heat is generated by microbial activity itself; your job is simply to provide the right ingredients and conditions to keep those microbes working at full capacity.
The four key factors you are managing are:
- Carbon to nitrogen ratio (C:N ratio) – the balance between “brown” and “green” materials
- Moisture – the heap should feel like a wrung-out sponge
- Aeration – oxygen is essential for aerobic decomposition
- Heap size – the mass must be large enough to retain heat
Get these four factors right, and the bacteria do the hard work for you.
What You Will Need Before You Start
Hot composting works best with a dedicated system. Unlike cold composting, where you can simply add material whenever it accumulates, hot composting requires you to build the heap in one go – or close to it – so you need to gather your materials in advance.
Choosing a Bin or Bay
You need a minimum volume of approximately one cubic metre (roughly 1m x 1m x 1m) to generate and retain enough heat. Smaller heaps lose heat too quickly at the edges and rarely reach the temperatures needed. Options include:
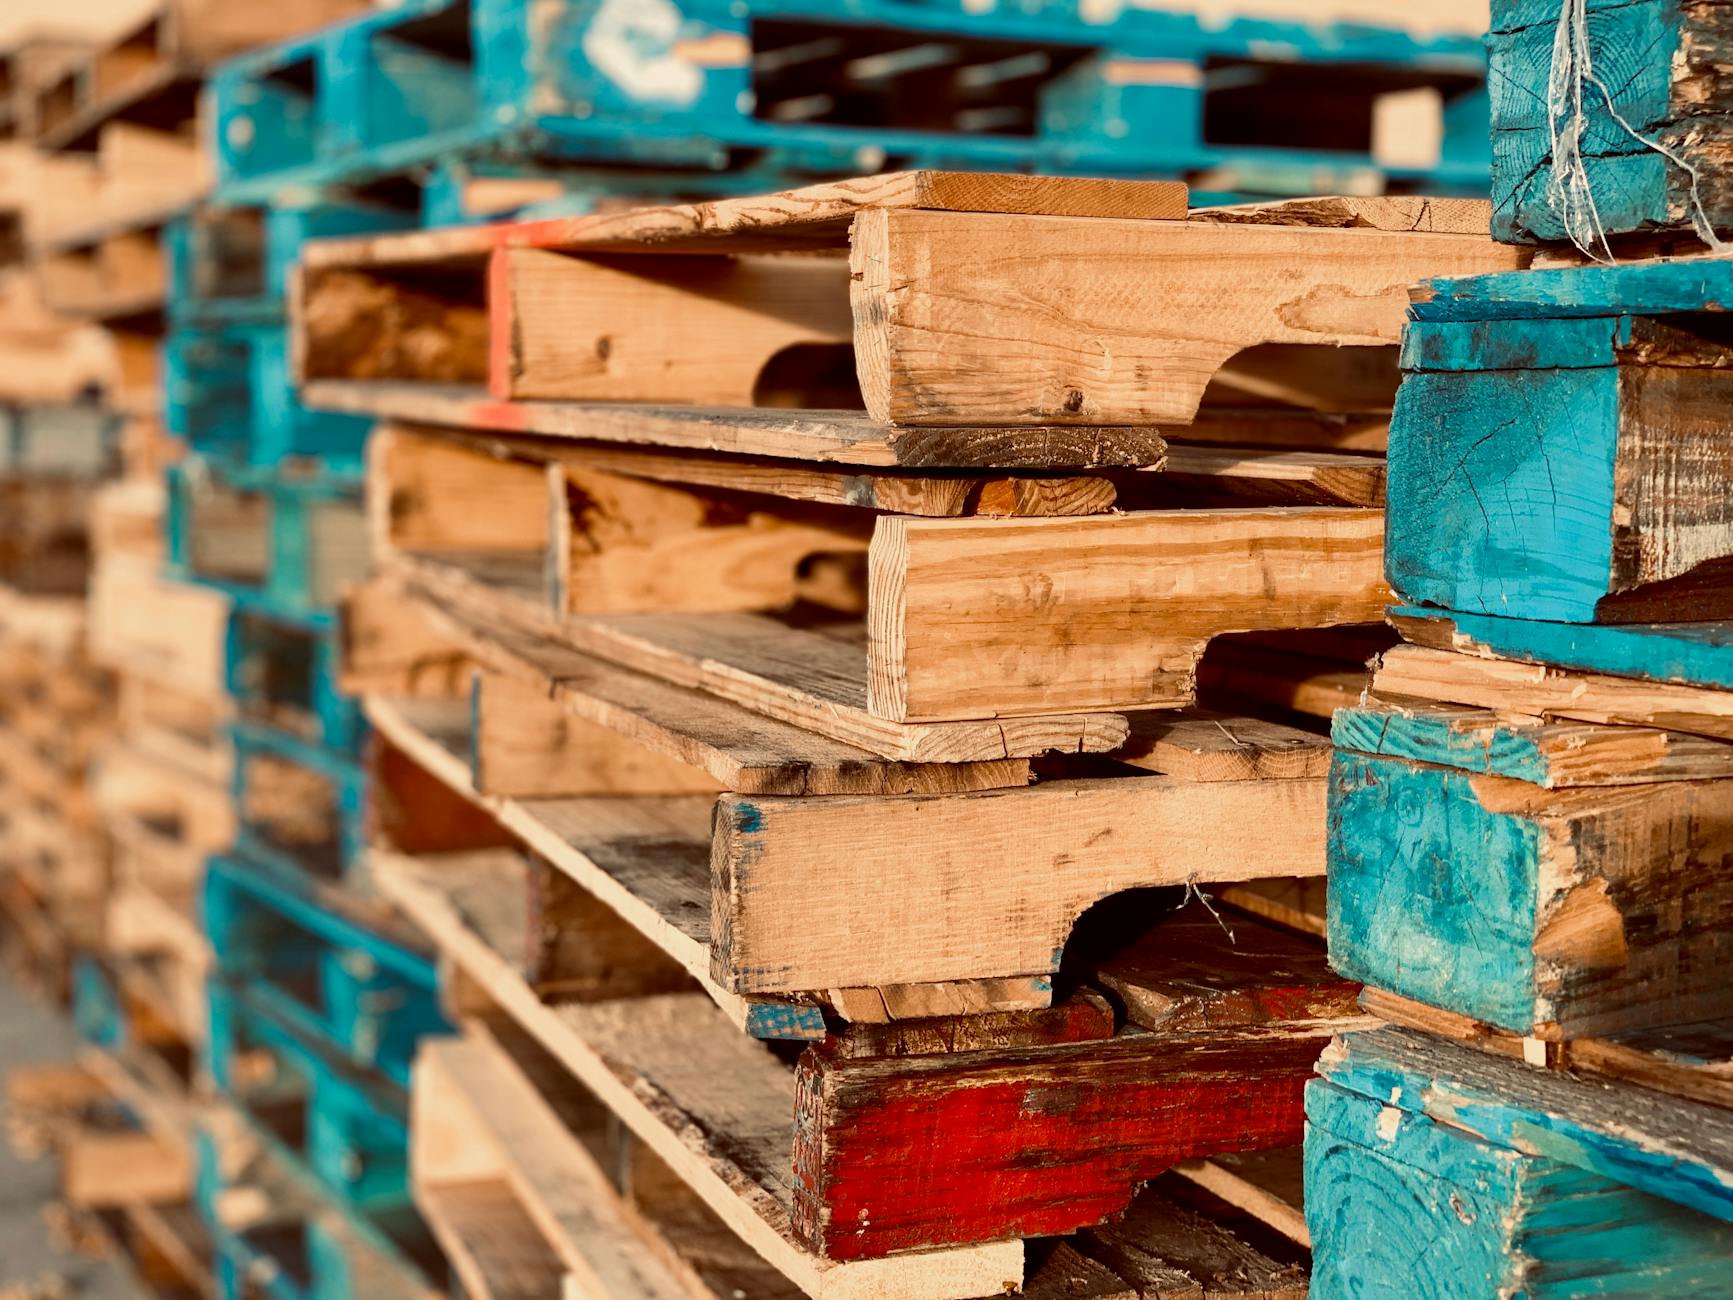
- Wooden compost bays – purpose-built or DIY from pallets; excellent insulation and easy to turn
- Plastic compost bins – the Dalek-style bins available through many UK councils at subsidised prices are better suited to cold composting, but larger insulated plastic bins can work for hot composting
- New Zealand-style double bays – two adjacent bays that allow easy turning from one into the other; a popular design among serious home composters in the UK
- Hot composting bins – purpose-made insulated systems such as the HotBin or Aerobin are available from UK retailers including Greenhouse Stores, Harrod Horticultural, and Amazon UK; these are expensive but highly effective even in smaller gardens
Many local councils in England, Scotland, and Wales offer heavily discounted compost bins through schemes run via GetComposting.com, which partners with local authorities across the country. It is worth checking your council’s website before paying full price.
Gathering Your Materials
Before you build your heap, you need a good stock of both green (nitrogen-rich) and brown (carbon-rich) materials. Aim for a ratio of roughly 25-30 parts carbon to 1 part nitrogen by weight, though in practice most beginners work by volume and aim for approximately equal layers by bulk, adjusting as they go.
Good “green” nitrogen sources:
- Fresh grass clippings
- Vegetable peelings and fruit scraps
- Fresh garden weeds (without seed heads)
- Coffee grounds and tea leaves
- Manure from horses, chickens, rabbits, or guinea pigs (not dogs or cats)
- Freshly cut nettles or comfrey leaves – both are excellent nitrogen sources widely recommended by UK gardening organisations including the RHS
Good “brown” carbon sources:
- Cardboard (torn into pieces, dampened)
- Straw
- Dry autumn leaves
- Woody prunings chipped or shredded
- Paper bags and newspaper (avoid heavily inked glossy paper)
- Dried plant stems
How to Build Your Hot Compost Heap
Building the heap correctly from the start gives you the best chance of hitting high temperatures within the first 48 to 72 hours. Follow these steps:
- Prepare your base. Place your bin or bay directly on bare soil if possible. This allows worms and beneficial organisms to enter from below as the heap cools during its later stages. Lay a 10-15cm layer of coarse woody material or straw at the bottom to allow airflow.
- Alternate layers. Add alternating layers of green and brown materials, each approximately 10-15cm deep. Water each layer lightly if the materials are dry. The heap should feel consistently moist throughout – damp but not waterlogged.
- Add an activator. If you have access to finished compost, well-rotted manure, or a commercial compost activator, add a thin layer partway through. This introduces a larger population of microbes and can speed up the initial heat build-up. Products such as Garotta or Vitax Q4 Compost Maker are available in UK garden centres.
- Aim for the right size. Keep building until your heap is at least 1m x 1m x 1m. Cover the top with a piece of old carpet, hessian sacking, or a fitted compost cover to retain moisture and heat.
- Check the temperature after 48 hours. Push your hand into the centre of the heap – it should feel uncomfortably hot. Ideally, use a long-stemmed compost thermometer (available from Implementations, Harrod Horticultural, and other UK garden suppliers) to monitor the temperature accurately. You are aiming for 55°C-65°C.
Managing Your Heap: The First 30 Days
Hot composting is an active process. The key management task is turning the heap regularly to introduce oxygen and move cooler outer material into the hot centre.
Week One
Your heap should heat up quickly – often within 24 to 48 hours of building. Check the temperature daily if you can. Once the temperature starts to drop from its peak (usually after three to five days), it is time to turn the heap for the first time. Use a garden fork to move material from the outside edges into the centre, and vice versa. Add water if the material feels dry. The heap should reheat within a day or two of turning.
Weeks Two and Three
Continue turning every three to five days, or whenever the temperature begins to drop below 45°C. Each time you turn, check the moisture level and add water or dry brown material as needed to maintain the wrung-out-sponge consistency. The material inside the heap will visibly reduce in volume and begin to look darker and more uniform.
Week Four
By the final week, the heap’s temperature will begin to stabilise at a lower level as the readily available organic matter is consumed. The material should look dark brown, smell earthy rather than sour or ammonia-like, and have significantly reduced in volume – often by 50 to 70 per cent compared to the original heap. At this point, you can leave it to cure for a further one to two weeks before using it.
Troubleshooting Common Problems
Even with the best preparation, issues can arise. Here are the most common problems UK beginners encounter and how to fix them:
- Heap won’t heat up: The most likely causes are insufficient nitrogen (add more greens or manure), too little moisture, or a heap that is too small. Check all three.
- Heap smells of ammonia: Too much nitrogen. Add more brown material and turn the heap to aerate it.
- Heap smells rotten or sour: Too wet or not enough oxygen. Add dry browns, turn thoroughly, and ensure the base has adequate drainage.
- Heap is infested with flies: Fruit and vegetable scraps are likely exposed at the surface. Bury food waste in the centre of the heap and cover with a layer of brown material after each addition.
- Temperature peaks then won’t recover: The heap may have run out of easily decomposable material. Add fresh greens and turn well.
What Can (and Cannot) Go Into a Hot Compost Heap
The high temperatures achieved in hot composting make it possible to process some materials that are unsuitable for cold heaps. However, there are still items that should be kept out.
It is worth noting that in the UK, composting cooked food, meat, fish, and dairy at home – even in a hot compost system – is technically not recommended by most UK composting authorities, including the Waste & Resources Action Programme (WRAP). These materials can attract rodents and may not reach consistently safe temperatures in a home system. Some purpose-built hot composting units such as the HotBin claim to handle cooked food safely, but always follow the manufacturer’s guidance and check your local authority’s guidelines.
Comparison: Hot Composting vs Other Common Methods
| Method | Time to Finished Compost | Effort Required | Kills Weed Seeds? | Minimum Space Needed |
|---|---|---|---|---|
| Hot Composting | 30-60 days | High (regular turning required) | Yes (at correct temperatures) | 1m x 1m x 1m heap |
| Cold Composting | 6-18 months | Low (add and leave) | No | Standard Dalek bin (~220 litres) |
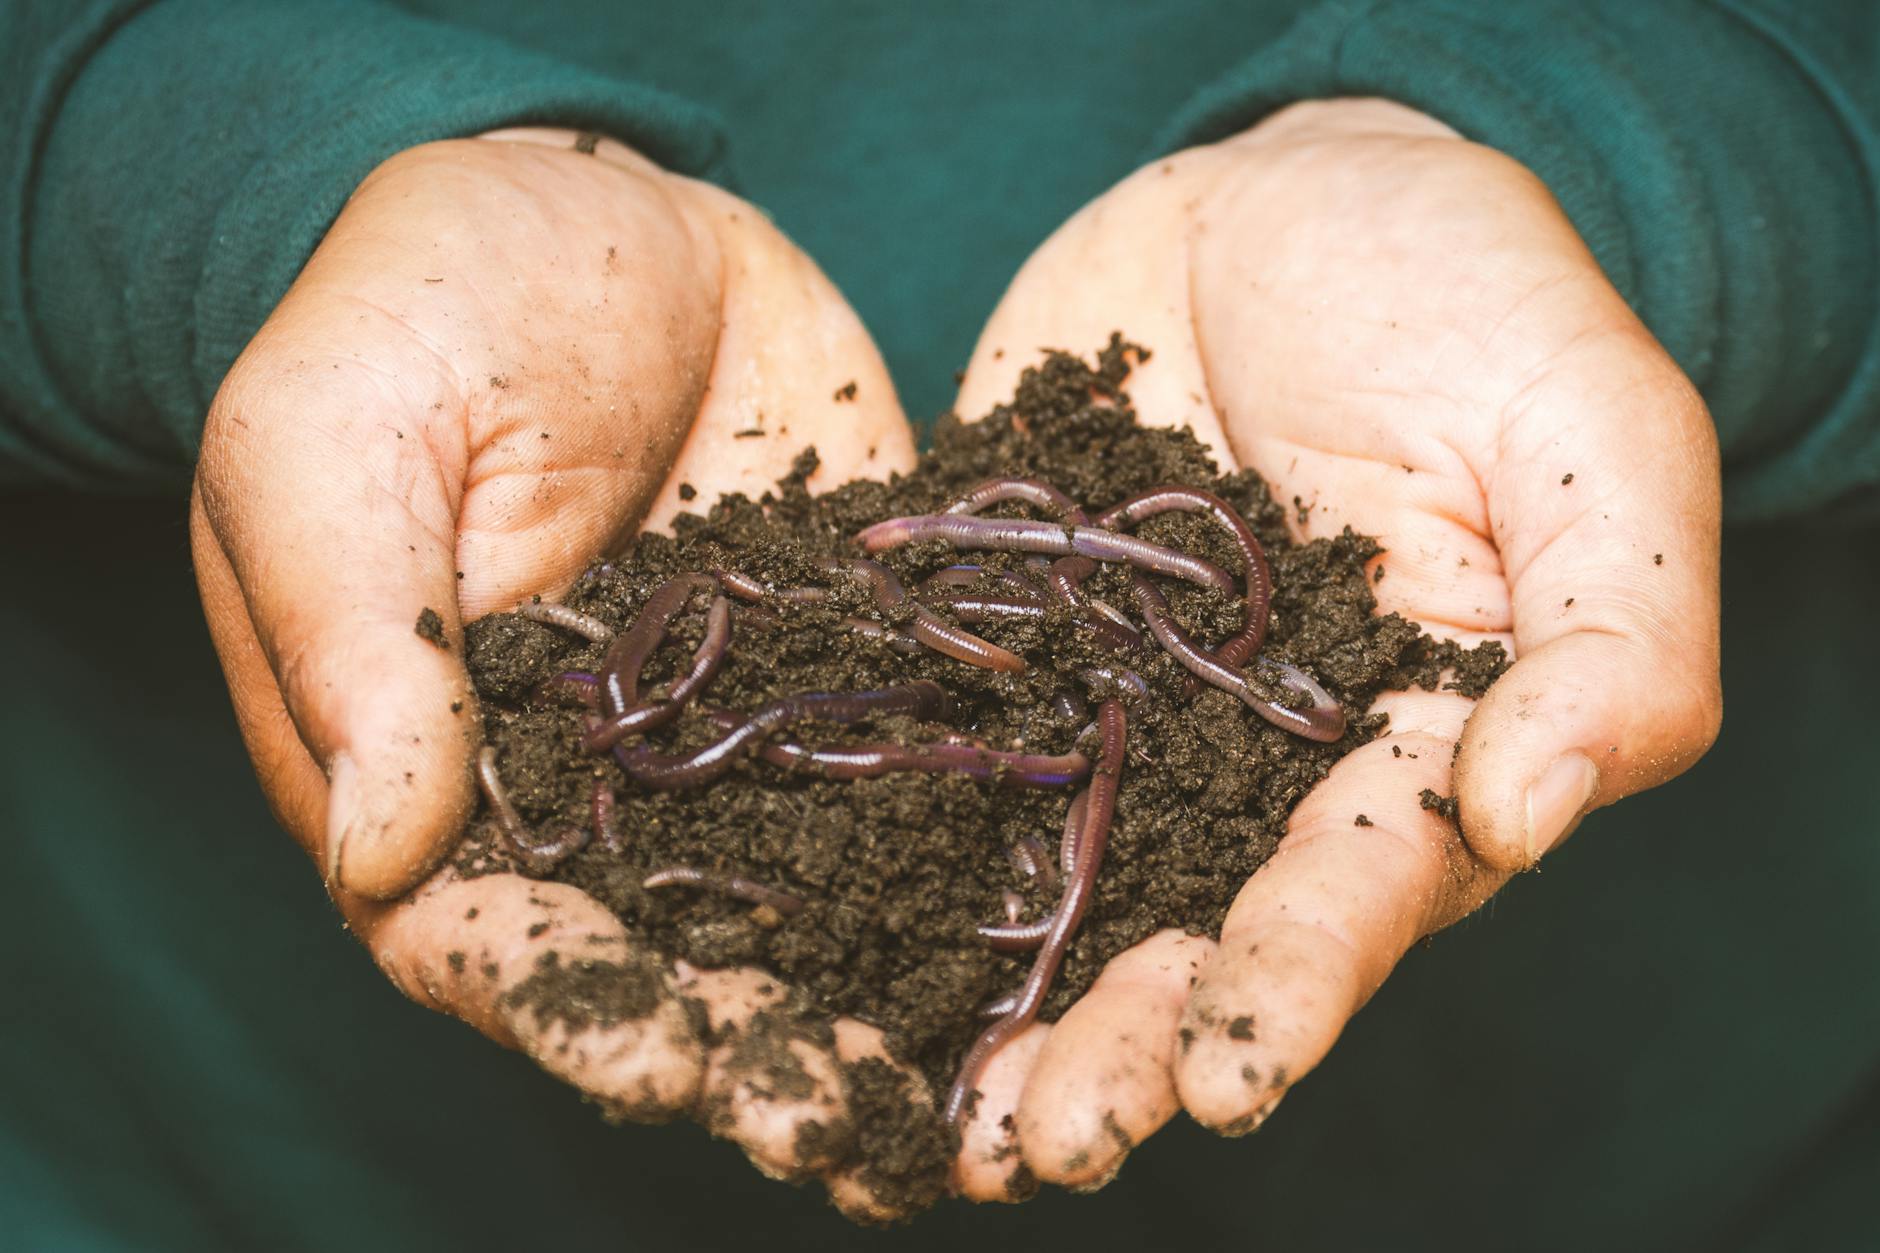
| Wormery (Vermicomposting) | 3-6 months |