
Worm Composting A Beginners Guide for UK Homes
Worm Composting: A Beginner’s Guide for UK Homes
If you have ever tossed a banana skin into the bin and felt a small pang of guilt about it, worm composting might be exactly what you have been looking for. Also known as vermicomposting, it is one of the most practical and rewarding ways to deal with kitchen waste in a British home — whether you live in a terraced house in Leeds, a flat in Bristol, or a cottage in the Cotswolds. You do not need a large garden, a complicated setup, or any specialist knowledge to get started. Just a few worms, a suitable container, and a willingness to learn.
This guide walks you through everything you need to know: what worm composting actually is, how to set up your first worm bin, what to feed your worms, and how to use the finished compost in your garden or on your houseplants. We will also cover some of the common mistakes beginners make so you can avoid them from the outset.
What Is Worm Composting and Why Should UK Gardeners Care?
Worm composting is the process of using specific species of worms to break down organic waste — predominantly kitchen scraps — into a rich, dark, soil-like material called worm castings or vermicompost. This is not the same as traditional garden composting, which relies primarily on microbial activity and tends to require a much larger volume of material to work efficiently.
Worm bins are compact, relatively odourless when managed correctly, and can be kept indoors or outdoors. For people without gardens, or with very small outdoor spaces, this makes vermicomposting an accessible alternative to a traditional compost heap. In the UK, where roughly 6.5 million tonnes of food waste is thrown away from homes every year according to WRAP (Waste and Resources Action Programme), diverting even a portion of that into a worm bin makes a meaningful difference.
The end product — vermicompost — is frequently described by gardeners as “black gold” because of how nutrient-dense it is. It is packed with beneficial microorganisms, improves soil structure, and releases nutrients slowly in a form that plants can readily absorb. For UK gardeners dealing with heavy clay soils or nutrient-poor sandy soils, it can be genuinely transformative.
Choosing the Right Worms
Not all worms are suitable for composting. The common earthworm you find in your garden — Lumbricus terrestris — is a burrowing species that moves through deep soil and is not well suited to life in a confined bin. For vermicomposting, you need surface-dwelling species that thrive in decomposing organic matter.
The two most commonly used species in the UK are:
- Eisenia fetida — known as tiger worms, brandling worms, or red wigglers. These are the gold standard for vermicomposting. They are voracious eaters, reproduce quickly, and tolerate a wide range of conditions.
- Lumbricus rubellus — sometimes called red worms or red earthworms. These are also effective composters and are often found naturally in compost heaps and manure piles.
Tiger worms are the most widely recommended for beginners and are readily available from UK suppliers online or at garden centres. A starter population of around 500g to 1kg of worms is sufficient for a household bin. They will naturally reproduce and adjust their population size to match the amount of food available.
Setting Up Your Worm Bin
Choosing a Container
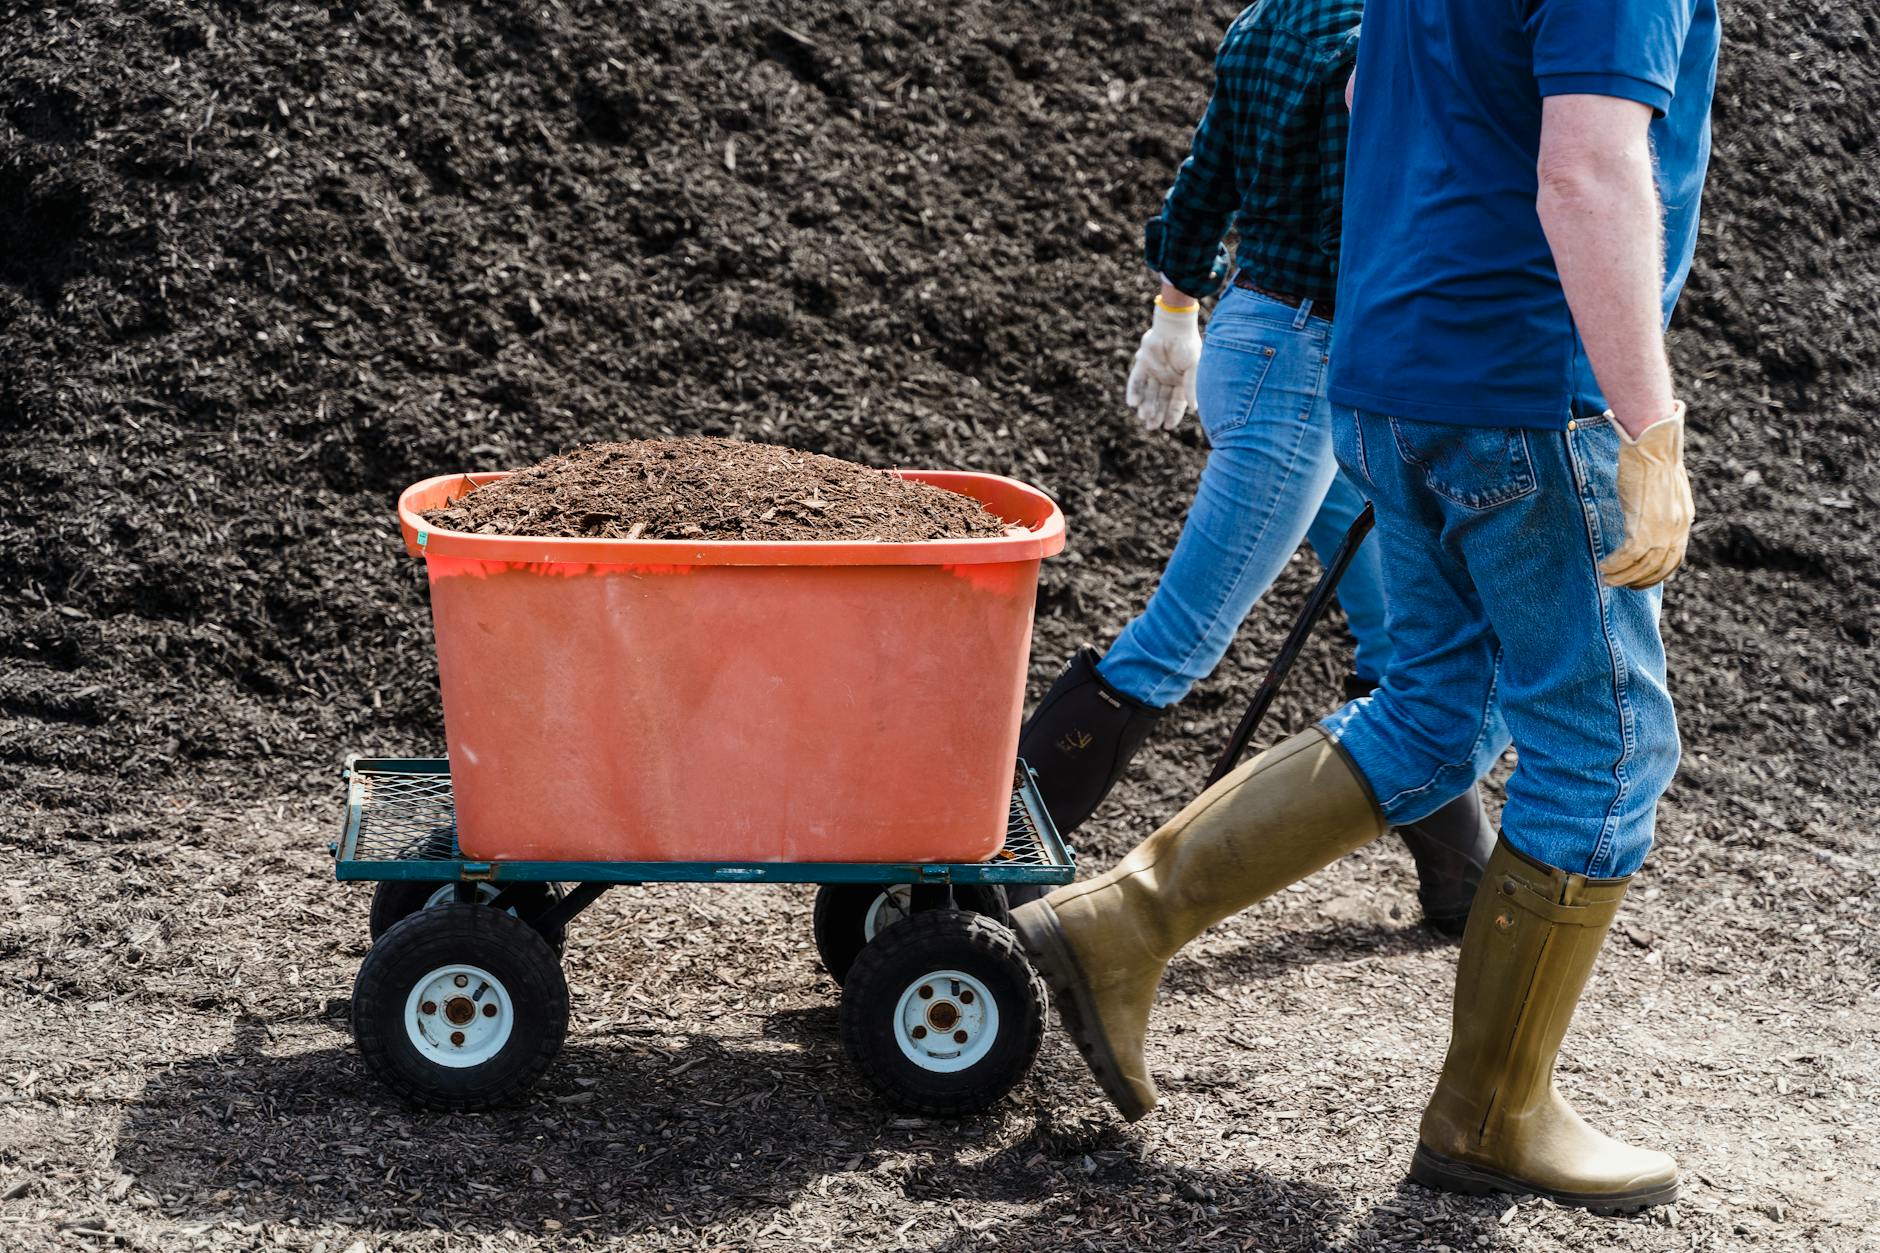
You have several options when it comes to the physical bin itself. Purpose-built worm composters are available from UK garden retailers and online suppliers — brands such as the Can-O-Worms and the Worm Factory are popular choices and come with multiple stacking trays that make harvesting compost easier. Prices typically range from around £40 to £90.
If you would rather not spend money on a proprietary system, a standard plastic storage box — the kind you might use for underbed storage — works perfectly well. Choose one that is at least 30cm deep and 60cm wide, and make sure it has a lid to retain moisture and keep pests out. Drill holes in the lid and sides near the top for ventilation, and a few small holes in the base for drainage. Place the bin on a tray to catch any liquid that drains through, as this “worm tea” is a valuable liquid fertiliser.
Preparing the Bedding
Before you introduce your worms, you need to prepare a bedding material that gives them somewhere to live while they settle in. Good bedding materials include:
- Torn-up cardboard or corrugated cardboard (remove any tape or staples)
- Shredded newspaper (avoid glossy paper)
- Coir (coconut fibre), which is widely available in UK garden centres
- Aged compost or leaf mould
- Straw
Dampen your bedding material until it feels like a wrung-out sponge — moist but not dripping. Fill the bin roughly one-third to one-half full of bedding, then add your worms on top and cover them with a thin layer of food to encourage them to burrow in. Leave the lid slightly ajar for the first day or two to encourage the worms to move down into the bedding rather than trying to escape.
Location Matters
Worms are most productive at temperatures between 15°C and 25°C. In the UK, this means that outdoor bins can be left outside during spring and summer, but should be brought indoors, into a garage, or insulated during winter months when temperatures regularly drop below 10°C. At very cold temperatures, worm activity slows significantly, and prolonged freezing can kill a colony.
If you are keeping your bin indoors — under the kitchen sink, in a utility room, or even in a cupboard — it should remain productive year-round. A healthy, well-managed worm bin produces very little odour, so indoor placement is entirely reasonable.
What to Feed Your Worms
Worms will eat most organic kitchen waste, but there are some important distinctions between what they thrive on and what can cause problems in your bin.
Foods Worms Love
- Fruit scraps and peelings — apple cores, banana skins, citrus peel (in moderation)
- Vegetable peelings and off-cuts
- Tea bags (remove the staple) and loose-leaf tea
- Coffee grounds and paper filters
- Cooked pasta and rice (in small amounts)
- Crushed eggshells — these help neutralise acidity and improve drainage
- Bread and plain biscuits (in small quantities)
- Cardboard and paper, which provide carbon to balance the nitrogen-rich food waste
Foods to Avoid or Limit
- Meat and fish — these attract pests and create foul odours as they decompose
- Dairy products — similar issues to meat and fish
- Oily or heavily spiced foods — these can disrupt the bin environment
- Citrus in large quantities — occasional citrus peel is fine, but too much can make the bin acidic
- Onions and garlic — worms tend to avoid these, and they can make conditions unpleasant
- Pet waste — not suitable for a standard worm composting system
Feed your worms little and often rather than dumping large quantities of food in at once. A good rule of thumb is to add new food only once the previous addition has been largely consumed. Burying food slightly beneath the surface helps prevent fruit flies. Aim for a rough balance of green (nitrogen-rich food waste) and brown (carbon-rich cardboard and paper) materials — a ratio of approximately 50:50 by volume works well for most beginners.
Maintaining Your Worm Bin
Worm composting is genuinely low-maintenance, but a small amount of regular attention keeps things running smoothly.
Moisture Levels
The contents of the bin should always feel moist — like a damp flannel rather than a soggy one. If the bin becomes too dry, worms will slow down and may try to escape. Sprinkle a little water over the surface if needed. If it becomes too wet, add more dry bedding material such as torn cardboard to absorb excess moisture.
Aeration
Gently turning or fluffing the contents of the bin every few weeks helps maintain airflow and prevents compaction. Worm bins should be aerobic environments — if you notice a sulphurous or rotten smell, it usually indicates that conditions have become anaerobic (lacking in oxygen). Adding more cardboard, turning the material, and reducing food additions will generally resolve this.
pH Balance
Worms prefer a neutral to slightly acidic environment, ideally between pH 6 and 7. Adding crushed eggshells or a small amount of garden lime (calcium carbonate, not quicklime) periodically helps prevent the bin from becoming too acidic, which can happen if a lot of fruit waste is added. Signs of an overly acidic bin include worms congregating near the lid or around the drainage holes.
Managing Pests
In UK conditions, the most common uninvited guests in a worm bin are fruit flies, ants, and occasionally slugs. Burying food scraps rather than leaving them on the surface goes a long way to preventing fruit fly infestations. A well-fitting lid keeps most other pests out. If ants become a problem — which tends to happen when the bin is too dry — improving moisture levels usually discourages them.
Harvesting Your Vermicompost
Depending on the size of your bin and how much food waste you add, your worms could produce harvestable compost within three to six months. Finished vermicompost looks dark, crumbly, and earthy — similar in appearance to very fine coffee grounds. It should smell pleasant, like good garden soil.
There are a few methods for separating the compost from the worms:
- The light method — place the bin contents under a bright light. Worms will burrow away from the light, allowing you to scoop compost from the top layers while the worms congregate at the bottom.
- The migration method — if you have a multi-tray system, simply stop feeding the lower tray and add food only to the upper tray. Worms will migrate upwards over several weeks, leaving finished compost behind in the lower tray.
- Hand sorting — spread the compost on a sheet of cardboard or newspaper and pick worms out by hand. This is time-consuming but effective.
Once harvested, worm castings can be used immediately or stored in a sealed bag or container for several months.
Using Vermicompost in Your UK Garden
The finished product from your worm bin is one of the finest soil amendments available, and a little goes a long way. Here are some practical ways to use it:
- Potting mix — blend vermicompost with regular potting compost at a ratio of roughly 20 to 30 per cent vermicompost. This enriches the mix without overwhelming seedlings with too much nutrient concentration.
- Top dressing — sprinkle a thin layer around established plants in borders or raised beds and water it in. This feeds the soil gradually and supports soil life.
- Seed sowing — mix a small amount into seed compost to give seedlings an early boost.
Whether you are just starting out or looking to develop your skills further, the key is to keep practising and enjoy the process. Every expert was once a beginner, and with the right approach and a bit of patience, you will find yourself making real progress.


https://shorturl.fm/432AH
https://pesnimp3.net/1.html
https://shorturl.fm/4ioeD
https://shorturl.fm/BtTL1
https://shorturl.fm/eSwAR
https://shorturl.fm/WP6F7
Популярные песни 2026 скачать бесплатно https://shorturl.fm/dfuzp
Последние новинки музыки 2026 скачать бесплатно https://shorturl.fm/l9SWZ
Популярные песни 2026 скачать бесплатно https://shorturl.fm/dfuzp
https://shorturl.fm/sOfq5
https://shorturl.fm/eKplN
Последние новинки музыки 2026 скачать бесплатно – https://shorturl.fm/rrdv9
https://shorturl.fm/qd4Tq
https://shorturl.fm/dyTO5
https://shorturl.fm/IXrfX
https://shorturl.fm/BXryY
https://shorturl.fm/K9mDr
https://shorturl.fm/LJ8kD
https://shorturl.fm/r4mib
https://shorturl.fm/ymbV1
https://shorturl.fm/f2sm8
https://shorturl.fm/c7FZw
https://shorturl.fm/8ExZe
https://shorturl.fm/uSOAN
https://shorturl.fm/nGNZc
https://shorturl.fm/m6hTY
https://shorturl.fm/wGFPT
https://shorturl.fm/oXheC