Compost Too Wet or Too Dry: How to Fix the Balance
Compost Too Wet or Too Dry: How to Fix the Balance
Moisture is the single most misunderstood element of home composting. Get it wrong in either direction and your bin stalls – producing a slimy, foul-smelling mess or a bone-dry pile that simply refuses to break down. The good news is that both problems are entirely fixable, often within a week or two, once you understand what is happening inside the heap and why.
This guide explains how to diagnose a moisture problem, what causes it, and exactly what to do to bring your compost back into balance. Whether you are using a plastic Dalek-style bin from your local council, an open-sided wooden pallet structure, or a tumbler from a garden centre, the principles apply equally.
Why Moisture Matters So Much
Composting is a biological process driven by microorganisms – bacteria, fungi, and other decomposers – that need water to survive and function. If the material in your bin is too dry, microbial activity slows almost to a halt. There is simply not enough moisture for the organisms to move through the material, digest it, and reproduce. The pile sits there, barely changing, no matter how long you leave it.
Too much water creates the opposite problem. Waterlogged compost pushes out the air gaps between particles, creating anaerobic conditions – an oxygen-free environment. Instead of the efficient aerobic bacteria you want, you get slow-working anaerobic bacteria that produce hydrogen sulphide and other foul-smelling compounds. That is where the classic rotten-egg or ammonia smell comes from. Waterlogged compost is also far more likely to attract unwanted visitors, including rats and flies.
The ideal moisture level is often described as “like a wrung-out sponge.” If you grab a handful of compost from the centre of the pile and squeeze it, a few drops of water should appear but nothing more. This is your target at every stage of composting.
How to Tell Whether Your Compost Is Too Wet or Too Dry
Before you do anything else, carry out a simple squeeze test. Take a trowel or your gloved hand and pull a sample from the middle of the pile – not just the surface, which can mislead you. Squeeze it firmly in your fist.
- Too wet: Water runs freely from between your fingers. The material may be dark, slimy, or clumped together. There may be a strong smell – either sulphurous or ammonia-like. Worms, if present, may be clustered near the surface trying to escape.
- Too dry: No moisture at all comes out when squeezed. The material crumbles or feels dusty. The pile looks pale or grey rather than a rich dark brown. There is little or no heat generation, even in warm weather.
- About right: A small amount of moisture is expressed when you squeeze firmly, but not a stream. The material holds together loosely, feels cool or warm (not cold), and smells earthy rather than foul.
Once you have identified which problem you have, the fix is straightforward – though it does require a bit of patience and consistency.
Fixing Compost That Is Too Wet
A waterlogged heap is one of the most common problems for UK gardeners, and for obvious reasons. Our climate delivers rain at almost any time of year, and many people place their compost bins in exposed positions where they take the full force of wet weather. Add to that the tendency to add too many grass clippings, vegetable peelings, and other wet kitchen scraps without balancing them out, and you have a recipe for a soggy, smelly pile.
Step-by-step fix for a wet compost bin
- Add dry, carbon-rich material immediately. This is the most effective single intervention. Torn-up cardboard (cereal boxes, egg boxes, toilet roll tubes), scrunched newspaper, dry straw, wood chip, or shredded paper all work well. These materials absorb excess moisture and create the air pockets that aerobic bacteria need. Add in layers, alternating with the wet material if you are turning the pile.
- Turn the heap. Using a garden fork, turn the contents thoroughly, breaking up any compacted clumps. This reintroduces oxygen and helps moisture evaporate. Even a single thorough turn can transform a soggy pile within a few days during warmer weather.
- Check your lid or cover. If your bin has a lid, make sure it is properly fitted. For open heaps, consider placing a piece of old carpet, a sheet of cardboard covered with polythene, or a purpose-made compost cover (widely available at garden centres such as Dobbies, Wyevale, or Notcutts) over the top to stop additional rain getting in.
- Adjust what you are adding. If wet kitchen waste is a regular problem, commit to always adding a layer of dry material on top of each batch of food scraps. Keep a cardboard box or bag of torn cardboard next to the bin for this purpose. Avoid adding large amounts of grass clippings in a single layer – mix them in or let them wilt for a day or two first.
- Consider drilling extra ventilation holes. If you are using a council-issue plastic bin, it often has minimal ventilation. Drilling additional holes around the lower sides with a 10-12mm drill bit can improve airflow significantly.
- In severe cases, spread the material out. If the pile is genuinely waterlogged and smells very bad, consider emptying it onto a tarpaulin in a dry spell and letting it air out for a day before reassembling it with plenty of dry material mixed in.
One thing to be aware of: if your bin sits directly on soil, check that the base is not blocked by a mat of roots or compacted earth that prevents drainage. Clear it out if needed, or place the bin on a slight slope so water can drain away naturally.
Fixing Compost That Is Too Dry
A dry pile is less offensive to the nose but just as frustrating. It can happen easily during the summer months, particularly in the south and east of England where extended dry spells are becoming more common. It also occurs when a pile contains too much woody or paper material without enough wet food waste or green garden trimmings to balance it.
Step-by-step fix for a dry compost bin
- Water the heap directly. Use a watering can rather than a hose – you want to moisten evenly, not flood. Work in sections, adding water and then turning the material to ensure it penetrates throughout. A common mistake is to water only the top, which may trickle down unevenly and leave dry pockets in the centre.
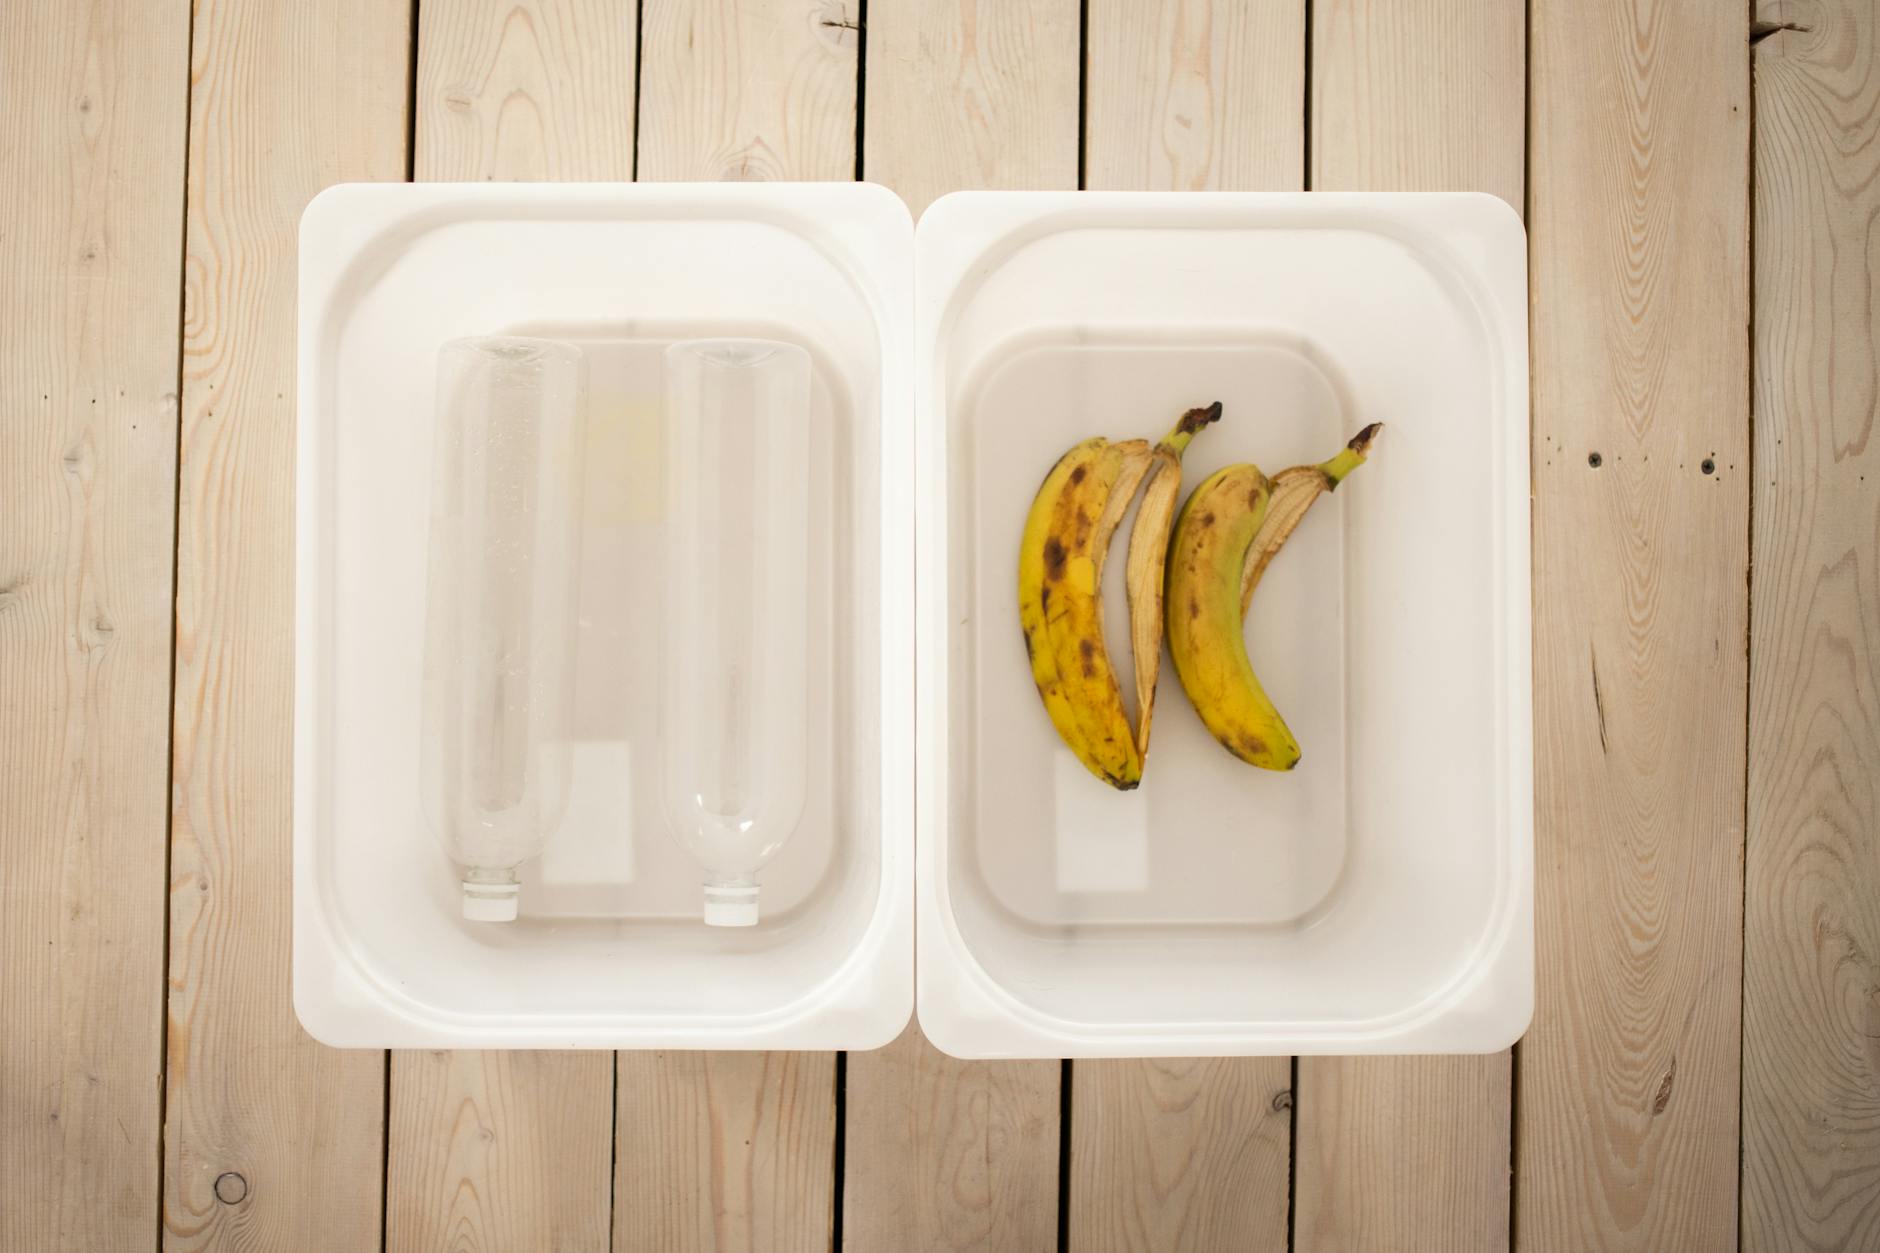
- Add wet, nitrogen-rich material. Grass clippings, fresh vegetable and fruit peelings, tea bags (the paper kind – many supermarket own-brand bags are plastic-free), coffee grounds, nettles, comfrey leaves, or weeds that have not yet set seed are all ideal. These so-called “greens” bring moisture as well as nitrogen, which accelerates decomposition.
- Check whether it is the season. During a UK heatwave – rare but not impossible – your bin may dry out faster than material is added to it. Check moisture levels weekly during summer and water proactively rather than waiting for the pile to fail.
- Cover the heap to retain moisture. A lid or cover is just as important for retaining moisture as it is for keeping rain out. In dry conditions, an uncovered pile loses moisture rapidly through evaporation, especially if placed in a sunny spot. Move the bin to a shadier position if practical, or fit a cover.
- Mix the dry material through. Dry material at the edges or bottom of the bin can form a crust that water cannot penetrate easily. Turn the pile thoroughly before and after watering to break this up and ensure moisture reaches the parts that need it most.
- Add urine if appropriate. This may sound unconventional, but human urine – diluted roughly 10:1 with water – is an excellent activator for a dry heap. It provides both moisture and a quick hit of nitrogen. It is entirely safe for garden use and has been used by gardeners for generations. Some composting organisations, including Garden Organic (based in Ryton-on-Dunsmore, Warwickshire), acknowledge it as an effective and free compost activator.
If the pile has been very dry for a long time, it may take a couple of weeks of consistent additions before you see activity resume. Worms returning to the pile and a gentle warmth in the centre are good signs that decomposition has restarted.
Understanding the Green-to-Brown Ratio
Most moisture problems ultimately trace back to an imbalance between “greens” and “browns” – the two broad categories of compostable material. Getting this ratio right prevents moisture problems from developing in the first place.
Greens are wet, nitrogen-rich materials: fresh grass, vegetable peelings, fruit scraps, coffee grounds, fresh plant trimmings, and the like. Browns are dry, carbon-rich materials: cardboard, paper, straw, autumn leaves, wood chips, and woody prunings. Browns absorb moisture from greens and create structure, while greens provide the nitrogen that feeds decomposition and the moisture that keeps microbes active.
A rough
guide is to aim for roughly 25–30 parts brown to 1 part green by volume, though in practice most gardeners find a simple alternating system works well: add a layer of greens, follow with a generous layer of browns, and repeat. If your heap is too wet, you almost certainly have too many greens and too few browns. Adding a thick layer of torn cardboard, scrunched newspaper, or dry autumn leaves will begin to correct the imbalance almost immediately. If it is too dry, the opposite applies — you need more fresh green material, or simply a modest amount of water applied evenly with a watering can rather than a hose.
It is worth keeping a supply of dry browns close to your bin throughout the year, since greens tend to arrive in unpredictable bursts — a weekend of weeding, a lawn mowing session, a glut of kitchen waste. Flattened cereal boxes, egg boxes, brown paper bags, and autumn leaves stored in a separate sack are all ideal. Having this reserve to hand means you can respond straight away when the balance tips, rather than watching the heap turn into a sodden, anaerobic mass before you get round to fixing it.
Conclusion
A well-balanced compost heap is not difficult to achieve, but it does require a little attention. Check the moisture level regularly by squeezing a handful of material from the centre — it should feel like a wrung-out sponge, damp but not dripping. If it is too wet, add browns and turn the heap to introduce air. If it is too dry, add greens or water and cover to retain moisture. Get the balance right and you will be rewarded with dark, crumbly, sweet-smelling compost that improves your soil season after season.