Compost for Raised Beds: How Much to Use
Compost for Raised Beds: How Much to Use
My first raised bed was a disaster. Not because I built it badly — the timber was solid, the drainage was fine, and I had plenty of enthusiasm. The problem was the compost. I had no idea how much to use, so I used too little, topped it up with cheap topsoil that compacted like concrete by July, and spent the entire summer wondering why my courgettes looked so defeated. It took a second growing season, a lot of reading, and a very patient neighbour with an allotment in Stroud to put me right.
If you are just getting started with raised beds, or if your beds are already established but not performing the way you hoped, the question of how much compost to use is one worth taking seriously. Too little and your plants struggle. Too much of the wrong type and you create a different set of problems. Getting it right is not especially complicated, but it does require understanding a few things about what compost actually does inside a raised bed, and how your approach should change depending on whether the bed is brand new or a few years old.
Why Compost Matters More in Raised Beds Than in the Ground
Open garden beds, the kind you dig directly into the ground, have a built-in buffer. They connect to the wider soil ecosystem beneath — the worms travel up, the water table below provides some moisture retention, and the soil structure, however imperfect, already exists. Raised beds have none of this, or very little of it. They are, essentially, isolated growing environments. Whatever you put in is what your plants have to work with.
This is what makes them so good, of course. You can control the drainage, the fertility, the pH, and the texture in a way that open beds simply do not allow. But it also means that when the nutrients run out, they genuinely run out. There is no vast reservoir of subsoil fertility to draw on. Compost is not just a nice addition to a raised bed. It is the engine that keeps the whole thing running.
Good home compost — the dark, crumbly, earthy-smelling stuff that comes out of a well-managed bin — feeds the soil life that feeds your plants. Worms, bacteria, fungi, and countless other organisms process the organic matter and release nutrients in forms that plant roots can absorb. Each time you water, each time it rains, and each time you harvest, nutrients leave the system. Compost is how you put them back.
Setting Up a New Raised Bed: The Initial Fill
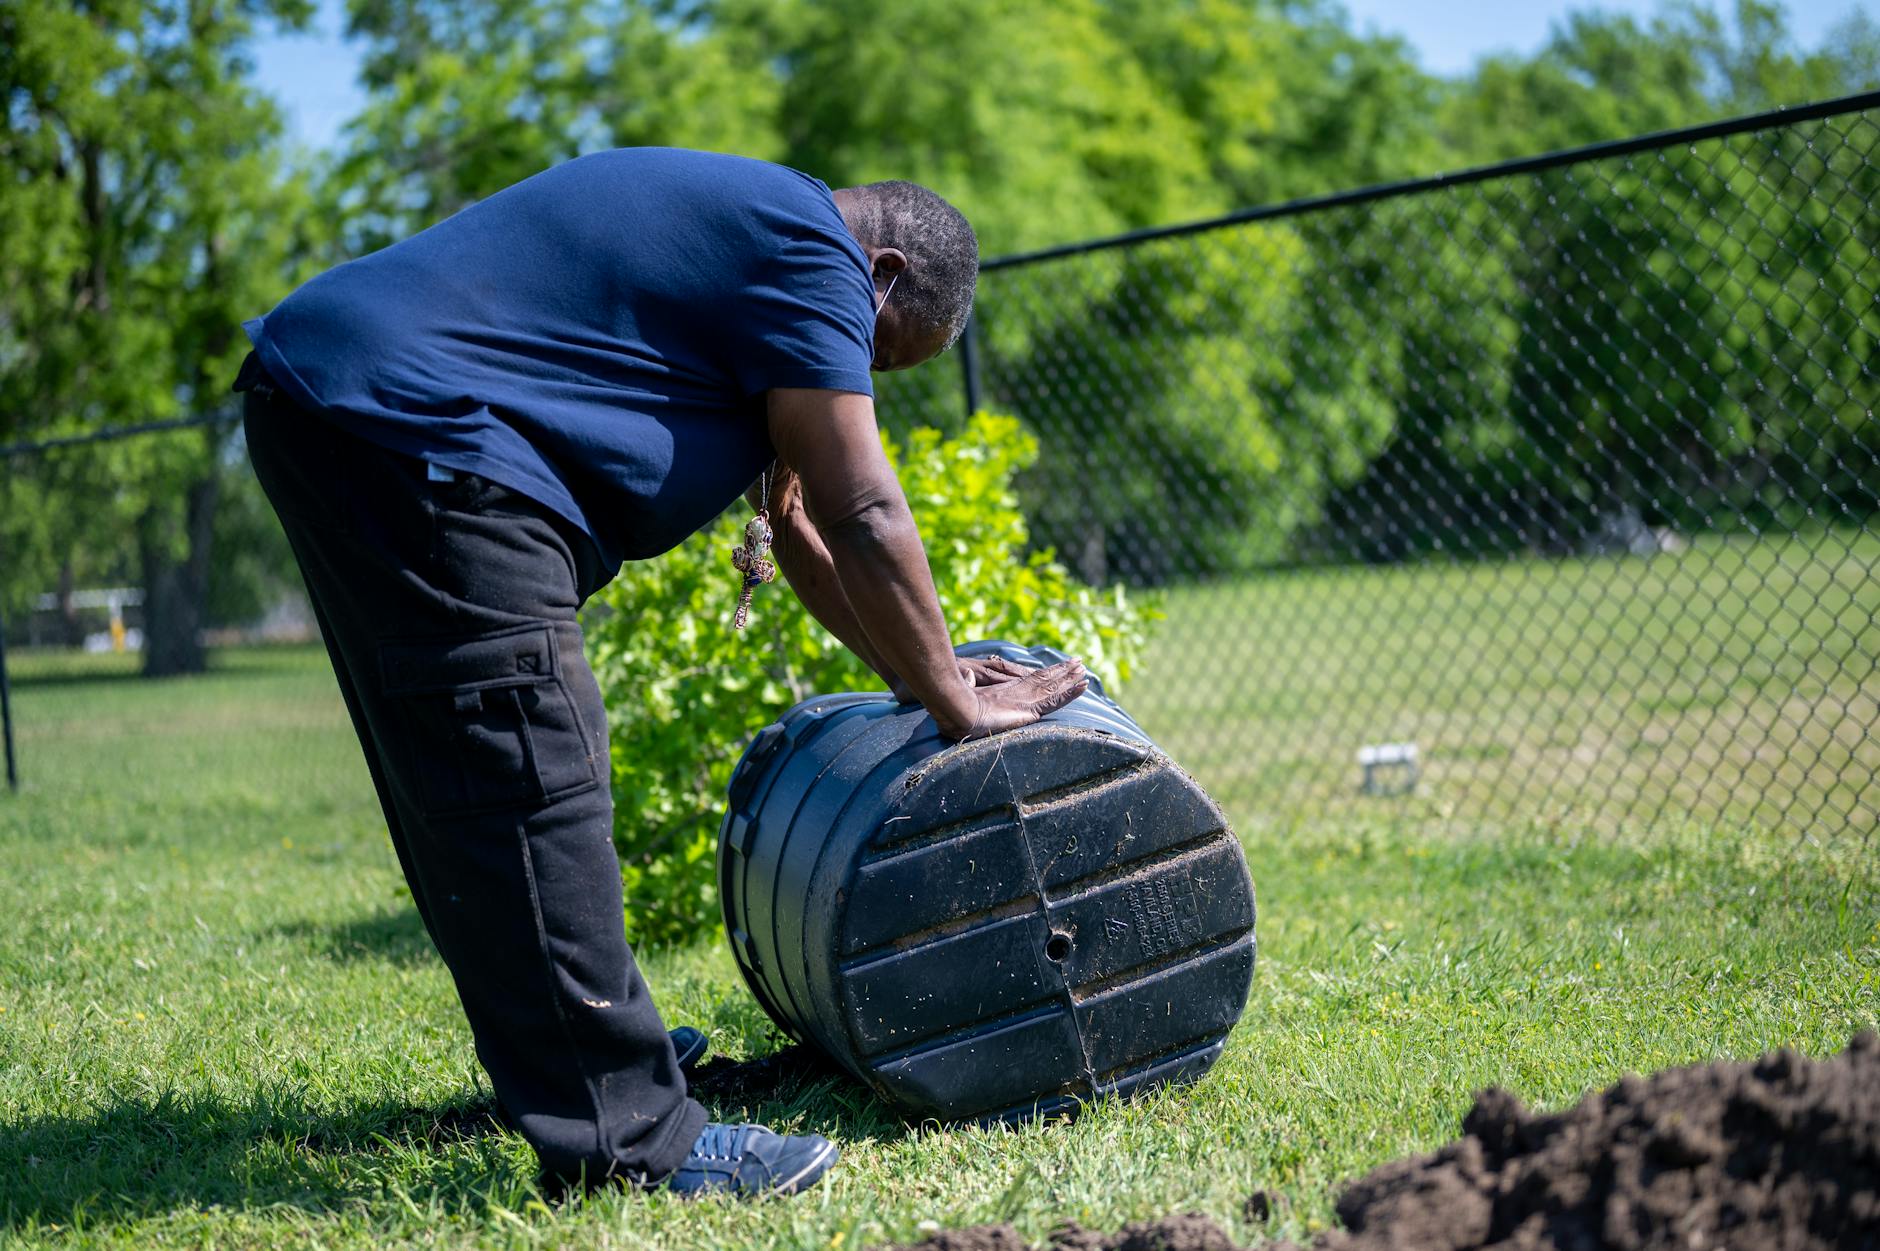
When you are filling a raised bed for the first time, the ratio that most experienced growers in the UK settle on is roughly 50 per cent good topsoil and 50 per cent compost and other organic amendments. Some people go higher on the compost side — particularly those following the no-dig approach popularised by Charles Dowding, whose market garden in Somerset has become something of a reference point for growers across the country. Dowding often fills new beds almost entirely with compost, or layers deep compost over cardboard directly on grass without removing any existing turf.
For a standard raised bed of 1.2 metres by 2.4 metres — a common size for a back garden in the UK — and filled to a depth of around 30 centimetres, you are looking at roughly 864 litres of growing medium in total. If you are going for a 50/50 split, that means approximately 432 litres of compost. Bags of compost sold in UK garden centres are typically 50 litres, so that is around eight or nine bags just for one bed. It adds up quickly, which is one of the many reasons that home composting makes so much financial sense for anyone running multiple raised beds.
If you are buying compost to top up your own supply, the RHS (Royal Horticultural Society) recommends looking for products certified by the BSI PAS 100 standard, which applies to composted materials from approved sources. Brands like Fertile Fibre, Carbon Gold, and Dalefoot Composts are well regarded among UK growers, and Dalefoot in particular, made from bracken and wool in Cumbria, has a strong following in the north of England where gardeners often deal with particularly challenging wet conditions.
Topping Up Established Beds: The Annual Routine
Once a bed has been running for a season or two, your approach to compost changes. You are no longer filling a void — you are maintaining a living system. The standard advice for established raised beds is to add a layer of compost each year, typically in autumn after you have cleared the bed, or in early spring before planting begins. Either works. What matters is that you do it consistently.
For most established beds, a layer of five to ten centimetres of well-rotted compost applied across the surface is sufficient for annual maintenance. You do not need to dig it in. The worms and the rain will work it down over the weeks, and by the time you are planting in spring, it will already be integrating itself into the bed. This is the no-dig principle in practice, and even if you are not a strict adherent to that method, it is hard to argue with the results.
For a 1.2 by 2.4 metre bed, a five-centimetre layer means roughly 144 litres of compost — about three 50-litre bags. A ten-centimetre layer doubles that to six bags. For growers with a productive home compost heap, a single well-managed bin can produce somewhere between 100 and 200 litres of finished compost per year, depending on input volumes and management. Two bins running in rotation is usually enough to supply two or three raised beds through annual top-dressing, though you may still need to supplement in a particularly hungry growing year.
Reading Your Bed: Signs That You Need More Compost
Numbers are useful, but your raised bed will also tell you directly when it needs attention. The surface of a compost-rich bed should be dark, soft, and slightly spongy to the touch. When you press a finger into it, it should yield without being muddy or waterlogged. If the surface has become pale, crusty, or hard — if water beads on it rather than sinking in — those are signs that the organic matter content has dropped and the soil structure is beginning to collapse.
Plant performance is another indicator. Yellowing lower leaves, slow growth, and small fruit can all point to nutrient deficiency, though they can also indicate other problems like pH imbalance or pest damage. If your beds have been productive in the past and have suddenly declined without any obvious explanation, a generous autumn mulch of compost is often the first and most sensible thing to try.
You might also notice that your bed has sunk. This is completely normal. Organic matter breaks down over time, which is exactly what it is supposed to do, but it does mean that the overall volume of your growing medium decreases. Topping up with fresh compost each year compensates for this, keeping the bed at a productive depth and ensuring that roots never run short of space or nutrition.
Matching the Compost to the Crop
Not all plants want the same thing, and this is worth bearing in mind when you are deciding how generously to apply your compost. Heavy feeders — brassicas like cabbage, broccoli, and kale; fruiting vegetables like tomatoes, squash, and sweetcorn — genuinely benefit from rich, compost-heavy growing conditions. These are the crops that will repay a generous application. If you are growing them in a dedicated bed, lean towards the higher end of your application rate.
Root vegetables, on the other hand, can actually be harmed by overly rich conditions. Carrots and parsnips grown in compost-heavy soil tend to fork and produce strange shapes — they are literally trying to find their way around obstacles in overly fluffy growing medium. If you have a dedicated root bed, dial the compost back a little and make sure it is very well rotted and fine-textured, without any large lumps or uncomposted material.
Herbs, salad leaves, and cut-and-come-again crops like rocket and mizuna are generally somewhere in the middle. They appreciate reasonable fertility but do not need to be cossetted in the same way as a hungry courgette plant that is trying to produce fruit through an entire summer.
Step-by-Step: Applying Compost to Your Raised Bed
- Clear the bed first. Remove any spent crops, old roots, and weeds. If you are doing this in autumn, leave any roots of legumes like peas and beans in the ground — they fix nitrogen and will break down over winter.
- Check moisture levels. If the bed is very dry, give it a thorough watering the day before you plan to apply compost. You want the soil biology to be active and ready to receive the organic matter.
- Measure your compost layer. Use a ruler or a stick marked at five centimetres and ten centimetres. It sounds fussy, but it takes about thirty seconds and stops you either under-applying or wasting compost needlessly.
- Spread evenly across the surface. Use a trowel or gloved hands for small beds, or a border fork to gently scatter larger volumes. Work from the edges inward to avoid compacting the bed by standing in the centre.
- Level with a rake. A light pass with a soil rake or the back of a trowel will even out any thick patches and give you a consistent layer across the whole bed.
- Leave it alone. Do not dig it in. Worms will begin pulling it down within days. If you are applying in autumn, the winter rain and frost-thaw cycles will help it integrate naturally.
- Consider a light mulch on top. In
very exposed beds, laying a thin covering of straw or wood chip over the compost will help retain moisture and prevent the surface crust that can form after heavy rain. This is particularly useful on south-facing raised beds that dry out quickly in spring and summer.
One common mistake is to rush the process by watering in the compost immediately after application. Unless your soil is bone dry, this is unnecessary and can cause the compost to mat together before the worms have had a chance to work it down. If the weather forecast shows rain within a day or two, simply leave it and let nature do the job. Another error is applying compost too thickly in a single pass. If you find yourself with a large quantity to use up, it is far better to apply it in two separate dressings a few weeks apart than to pile on an excessive depth all at once, which can create an anaerobic layer that does more harm than good.
It is also worth keeping a note of what you apply and when. A simple garden notebook or even a photograph on your phone gives you a useful reference point the following season. Over time you will start to see patterns — which beds respond most strongly, which crops seem to benefit most, and whether your compost source is consistent from batch to batch. Homemade compost in particular can vary considerably depending on what went into the heap and how well it was managed, so this kind of record-keeping helps you adjust your quantities with confidence rather than guesswork.
Final thoughts
Getting the quantities right takes a season or two of observation, but the principles are straightforward. Apply two to four inches as an initial fill when building a new bed, and top up with one to two inches each growing season thereafter. Use the no-dig method wherever possible, work from the edges, and let worms and weather do the incorporation for you. Good compost, applied consistently and at the right depth, is the single most reliable way to maintain the fertility, structure, and drainage that raised bed growing depends on.